A small fitting can cause a surprisingly large plumbing problem. The right Water Line Coupler helps connect compatible pipes securely, while the wrong one may leak, restrict flow, or fail under pressure. Choosing one is not just a matter of matching the pipe diameter. Material, connection style, water conditions, and the manufacturer’s specifications all matter.
These seven tips focus on practical checks: measure the line, identify its material, compare fitting types, and confirm pressure and temperature ratings. Check product documentation rather than relying on appearance alone. A brass coupler and a plastic coupler may look suitable, yet serve different systems. Details matter.
Installation deserves equal attention. Clean, square pipe ends and the correct tools can help create a dependable connection. Follow the product instructions, and inspect the joint for leaks after restoring the water supply. If the line is hidden, under unusual pressure, or part of a system you cannot identify, ask a qualified plumber before buying parts. A careful choice still cannot guarantee a perfect installation; that is easy to underestimate. Treat compatibility as a check, not a guess. These tips offer a useful starting point, but the pipe and product specifications should make the final call.
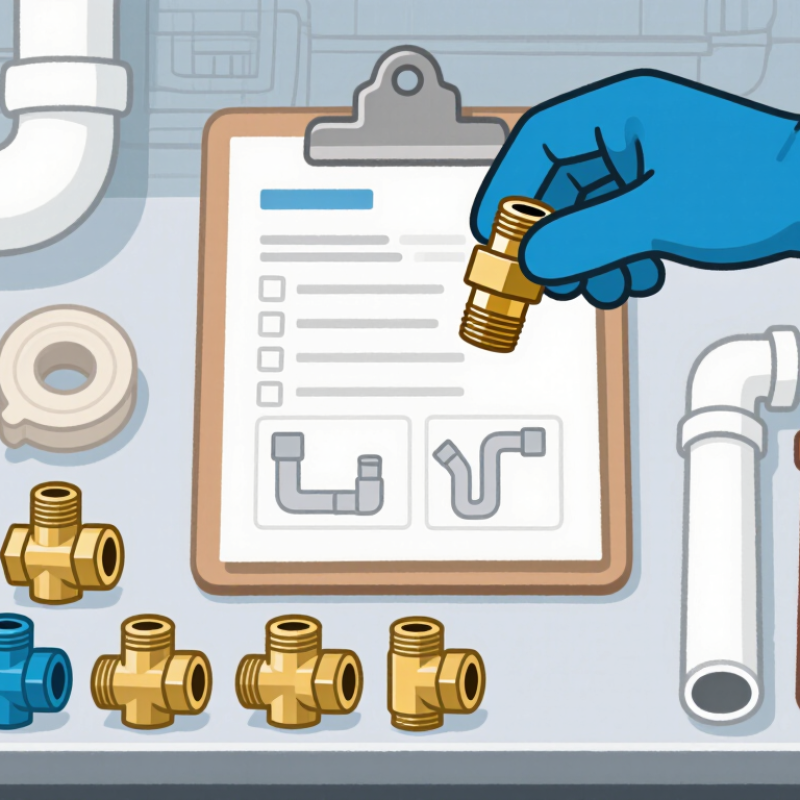
A water line coupler must match the pipe it joins. Check the material before shopping: copper, PEX, PVC, and braided supply lines do not all use the same connection method. Look for markings on the pipe, or compare its surface and flexibility with a reliable plumbing reference. If you are unsure, pause and ask a qualified plumber rather than guessing. A fitting that seems close may still leak.
Measure the pipe’s outside diameter, and confirm the coupler’s stated size and thread type. Nominal sizes can be confusing. A tape measure helps, but it may not tell the whole story. Also consider the line’s purpose: a cold-water branch, a hot-water run, and a fixture supply can face different temperatures, pressure, and movement. Check the fitting’s specifications for those conditions, and follow the pipe manufacturer’s installation guidance. Details matter.
Think about where the joint will sit. Under a sink, a compact connector may be easier to inspect; behind a wall, access for future repair is limited. Keep the pipe ends clean and square, and avoid forcing parts together. I have seen rushed fits look fine at first, then leave a slow drip on the cabinet floor. Test the connection carefully and recheck it after use.
| Tip | What to Check | Examples | Selection Guidance |
|---|---|---|---|
| 1 | Identify the water line material | Copper, PEX, CPVC, PVC, polyethylene, or braided flexible supply hose | Choose a coupler listed or specified for both the pipe material and the intended water service. Do not assume fittings for one plastic pipe are suitable for another. |
| 2 | Confirm the pipe size and measurement system | Nominal pipe size, copper tube size, metric outside diameter, or hose connection size | Check the pipe marking and measure as required by the fitting instructions. Nominal size and actual outside diameter are not always the same. |
| 3 | Match the connection type | Compression, threaded, soldered, crimp, clamp, push-to-connect, or barbed | Use a connection type approved for the pipe and installation location. Follow the manufacturer’s preparation and installation instructions, including any required tools or inserts. |
| 4 | Consider the water line’s purpose | Potable-water supply, appliance connection, irrigation, or a non-potable line | For drinking-water systems, select components certified or approved for potable-water contact under applicable local requirements. Do not use a general-purpose fitting unless it is approved for that use. |
| 5 | Check pressure and temperature ratings | Building supply pressure, pressure fluctuations, and hot- or cold-water service | Confirm that the coupler’s rated pressure and temperature cover the system’s operating conditions. The rating can vary by material, size, and fitting type. |
| 6 | Account for the installation environment | Indoor or outdoor use, exposure to sunlight, moisture, chemicals, or freezing conditions | Verify that the fitting material is suitable for the environment. Protect water lines from freezing and use outdoor-rated components where exposure requires them. |
| 7 | Verify compatibility and local requirements | Pipe system, fitting instructions, applicable plumbing code, and inspection requirements | Use compatible components and follow local plumbing codes. After installation, restore the water supply gradually and check the joint for leaks. |
A coupler that fits the pipe can still fail if pressure, temperature, or water chemistry is wrong. Measure pressure where the line will connect, including when several fixtures run. The 2021 International Plumbing Code calls for pressure regulation when supply pressure exceeds 80 psi. Treat that as a code benchmark, not a substitute for local requirements. Pressure spikes can stress seals; a gauge reading taken only at a quiet tap may miss them. Small detail. Easy to overlook.
Temperature matters, too. Check the pipe’s actual operating range against the coupler manufacturer’s published limits, including brief hot-water spikes. The U.S. Department of Energy notes that 120°F is sufficient for most household water-heating needs, though some systems require different settings. Hotter water can increase scald risk and place extra demands on materials. A coupler near a heater or sun-warmed pipe may face conditions unlike those at a cold-water sink.
Water quality deserves a closer look than “it looks clear.” The U.S. EPA’s Lead and Copper Rule uses 15 parts per billion as the lead action level for public water systems; it is not a guarantee that every tap is lead-free. Corrosive water, sediment, or treatment chemicals may affect metal parts and seals. Check local water-quality reports and choose materials compatible with the water and pipe. I would not assume one coupler suits every home. Water chemistry can vary even within one neighborhood.
7 Tips for Choosing the Right Water Line Coupler?
Compare Coupler Types and Connection Methods
A coupler’s connection method affects installation time, serviceability, and leak risk. Compression couplers use a nut and ferrule to grip the pipe; they suit accessible repairs but need careful tightening. Push-fit couplers connect quickly, though pipe ends must be clean, round, and fully inserted. Threaded connections are familiar and removable, but mismatched threads or excess sealant can cause leaks. Small details matter.
For larger lines, flanged couplers allow bolted connections and easier removal during maintenance. They require space for bolts and properly aligned faces. Match each coupler to the pipe material, outside diameter, working pressure, and water temperature. For drinking-water systems, check that wetted materials meet applicable potable-water requirements. A connector that fits physically may still be unsuitable.
The scale of infrastructure work makes sound component selection important. The U.S. Environmental Protection Agency’s 2023 Drinking Water Infrastructure Needs Survey and Assessment estimates $625 billion in drinking-water infrastructure needs over 20 years. That figure covers broad system investment, not couplers specifically. Still, it underscores why durable, compatible connections matter. Measure the pipe twice, then check the manufacturer’s installation limits. I’d also plan for future access; it is easy to overlook in a cramped cabinet.
Compare common connection methods by whether installation typically requires a dedicated tool. Requirements vary by fitting design and manufacturer; check product instructions and local plumbing codes.
How to use this chart: Push-to-connect fittings are typically installed without a dedicated tool. Crimp and solder connections require specialized tools; compression and threaded connections typically require a wrench. Choose a coupler compatible with your pipe material, size, water application, and applicable codes.
A water line coupler should fit the pipe, handle the working pressure, and suit the water it carries. Check the pipe material, outside diameter, and connection style before buying. A fitting that looks close may still leak when the line vibrates or temperature changes. Measure carefully. It sounds obvious, but rushed measurements are an easy mistake.
Tip 1: Check compatibility with the pipe and system. Confirm the coupler’s stated size, material, pressure rating, and temperature range against your line specifications.
Tip 2: Review certifications. Look for documentation that applies to potable water if the line supplies drinking water, and verify the certification details rather than relying on vague packaging claims. Requirements can vary by location and use.
Tip 3: Assess durability in the actual installation environment. A coupler exposed to moisture, outdoor temperatures, or frequent movement may need different materials than one installed indoors. Inspect seals for even seating, and avoid forcing misaligned parts together. A small twist can matter. I would also check the manufacturer’s installation instructions and test the joint for leaks after fitting. Even a well-rated coupler can fail if its seal is pinched or the connection is overtightened.
A water line coupler should fit the pipe material, diameter, and working pressure, not just the space under the sink. Measure the outside diameter carefully; a small mismatch can cause a slow, hidden leak. Check whether the connection needs a compression fitting, push-fit fitting, or threaded joint. Each type has different installation steps. Tight access matters, too. Leave enough room to turn a wrench and inspect the joint later. A fitting that is easy to install but impossible to reach can become a maintenance headache.
Think about what the connection will face over time. Water temperature, vibration, mineral buildup, and occasional movement can all affect seals. Use compatible parts, and follow the fitting maker’s torque or assembly instructions rather than guessing. Too much force can damage threads or deform a seal. Not enough can leave a drip. Keep the joint visible when possible, and check it after installation with a dry tissue; even a tiny damp spot shows quickly. Recheck after the line has been in use for a day. I have found that this simple habit catches problems early, though it is easy to forget when the connection looks fine. If the line serves an appliance that moves, allow gentle slack without sharp bends, and inspect the coupler during routine maintenance.